
With some of the stuff I focus on, I get to build Virtual Machines, Raspberry PI’s and other devices that run Kali Linux. For those that don’t know this is a Linux Distribution specifically created for penetration testing and maybe a little hacking.
The last one I built was on my Lenovo laptop at home, choosing to run it as my primary operating system and run Windows inside Virtual Machines as needed.
To install Kali Linux simply download the ISO from here, then either burn it to a DVD or a bootable USB drive. I like to use the USB option and use the “Universal USB Installer” tool to create the bootable USB drive. There are tons of tutorials on how to install this so I will leave that for you to Google or Bing.
After I setup Kali Linux I like to make a few changes to the system, to make it more usable for me. The following list are things that I do.
- Change default SSH keys (if I used the Virtual Machine image)
- Update, Upgrade and Distribution Upgrade
- Fix Device Not Managed Error
- Change the Default Repository
- Enable Sound
- Install Chrome and Chromium
- Remove Iceweasal and Install Firefox
- Install Java
- Install Flash
- Install an Archive Manager
- Setup Tor
- Setup “Wine” to run Windows Applications
These things make my experience better and I can then use this as my primary operating system.
Change Default SSH Keys
When using the standard Virtual Machine Image offered, the “SSH” keys are the same which of course for security reason you wouldn’t want. To change them, we need to copy the original ones to keep them safe, but generate new ones. To start, navigate to the following folder and run the commands.

cd /etc/ssh
mkdir original_ssh_keys
mv ssh_host_* original_ssh_keys/
Now to generate the new keys we need to run the following command.

dpkg-reconfigure openssh-server
This will then create new H keys, so when we connect over SSH it should ask us to accept the key and we should now be able to remotely SSH to the Kali Linux machine (if the networking is in place.
If you cannot SSH then check the network and firewalls first, and then check that you actually have “openssh-server” installed.
Update, Upgrade and Distribution Upgrade
This done very easily using the following command line:

apt-get update
Once this has completed then you can run the upgrade by running the following command:

apt-get upgrade
To perform a distribution upgrade run the following command:

apr-get dist-upgrade
You can run all of these command together using the following command:

apt-get update && apt-get upgrade && apt-get dist-upgrade
Fix Device Not Managed Error
This is an issue that means you are unable to manage the network adapter using the Network Manager.

To resolve this you will need to run the following command to open the “NetworkManager.conf“.

Once this is open simply change the “managed=false” to be “managed=true“.


Once this is done the core Network Manager will be able to manage the device.
Change the Default Repository
The core repositories that Kali Linux uses for updates, is set to the following:

To change them run the following command:

leafpad /etc/apt/source.list
I set them to these instead, giving me better updates and selection of components.

## Regular repositories
deb http://http.kali.org/kali kali main non-free contrib
deb http://security.kali.org/kali-security kali/updates main contrib non-free
## Source repositories
deb-src http://http.kali.org/kali kali main non-free contrib
deb-src http://security.kali.org/kali-security kali/updates main contrib non-free
As with a previous step, I normally run an update, and upgrade after modifying the sources.
Enable Sound
To enable sound on Kali, you first need to install the required components. To do this we need to run the following command.

apt-get install alsa-utils -y
Next we need to bring up the settings for the sound, and then enable it.


Install Chrome and Chromium
The easiest way to install Chrome is to really just download the latest version from the chrome site. https://www.google.com/chrome
It should then prompt you to install the “*.deb” version of Chrome, I choose the following version.

Once it is download, you need to run the following command.

dpkg -i google-chrome-stable_current_amd64.deb
This will install Google Chrome, once it is done, click to launch it.

If you get an error like this when launching Chrome you will need to make some changes.


nano /opt/google/chrome/google-chrome
Scroll to this line and modify.


Then when you try it again it should now load as expected.
I also like to run Chromium as a backup, plus it gives me a different version of the Chrome base to use in testing. This can be done by running the following command.

apt-get install chromium
Once it is installed if you try to run it and you get the same error as Chrome did then you need make the following changes.

nano /etc/chromium/default
You now need to change the following line.


Remove Iceweasel and Install Firefox
Even though “Iceweasel” is technically Firefox, I found it much better to actually install the latest “Firefox Browser“, as this is one that most people would be using instead of “Iceweasel“.
Firstly we need to remove “Iceweasel” using the following command.

apt-get remove iceweasel
Now we need to add a source so we can be able to run the “apt-get” command to install it.

echo -e "\ndeb http://downloads.sourceforge.net/project/ubuntuzilla/mozilla/apt all main" | tee -a /etc/apt/sources.list > /dev/null
Once done we need to import the “GPG” key using this command.

apt-key adv --recv-keys --keyserver keyserver.ubuntu.com C1289A29
Now we can perform an update and tell it to install “Firefox”

apt-get install firefox-mozilla-build
Once it is installed you should be able to run it without any errors.

Of course I renamed it from its original one.
Install Java
We all know that even with all the issues Java has had recently, that a ton of devices still use it and we need it too.
To install it, firstly visit the site and download the latest version.
http://www.oracle.com/technetwork/java/javase/downloads/jdk7-downloads-1880260.html

Extract the downloaded file.

tar -xzvf jdk-7u71-linux-x64.tar.gz
Move this to the “/OPT/” directory and then change to that directory.

mv jdk1.7.0_71/ /opt/

cd /opt/jdk1.7.0_71/
Now we need to run the following commands.

update-alternatives --install /usr/bin/java java /opt/jdk1.7.0_71/bin/java 1
update-alternatives --install /usr/bin/javac javac /opt/jdk1.7.0_71/bin/javac 1
update-alternatives --install /usr/lib/mozilla/plugins/libjavaplugin.so mozilla-javaplugin.so /opt/jdk1.7.0_71/jre/lib/amd64/libnpjp2.so 1
update-alternatives --set java /opt/jdk1.7.0_71/bin/java
update-alternatives --set javac /opt/jdk1.7.0_71/bin/javac
update-alternatives --set mozilla-javaplugin.so /opt/jdk1.7.0_71/jre/lib/amd64/libnpjp2.so
Install Flash
Whether you like Flash or not, there are still many sites that need Flash, as well as a few occasions where you would need it during testing. To install it, use the following command.

apt-get install flashplugin-nonfree
Once this has completed, you need to then run the following command.

update-flashplugin-nonfree --install
It should now be installed.
Install an Archive Manager
Kali Linux does not come with a great Archive Manager with a GUI, so I choose to install the following using the command line.

apt-get install unrar unace rar unrar p7zip zip unzip p7zip-full p7zip-rar file-roller -y
Setup Tor
When working with Kali Linux you may need to hide the traffic, force it to come from a different country or just need some privacy then we can install “Tor“. This can be installed using the following command.

apt-get install tor
Once this is installed successfully we now need to download the “Tor” client from the following link: https://www.torproject.org/dist/torbrowser/4.0.2/tor-browser-linux64-4.0.2_en-US.tar.xz
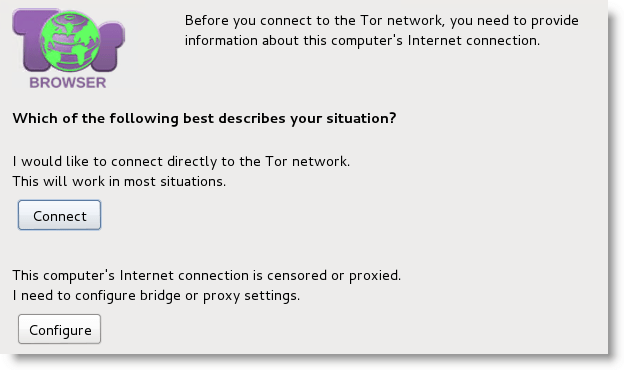
We then need to extract the downloaded file using the following command, change the directory to the newly created “tor-browser_en_US” folder and then run the “./start-tor-browser”

tar xf tor-browser-linux64-4.0.2_en-US.tar.xz
If you get an error about running as root then you need to make a change to the “start-tor-browser” file. Open the file in “leafpad“., and comment out the section listed below.

leafpad start-tor-browser

This should now launch as expected, however if you then get an error like this, you need to run the following command within the “tor-browser_en_US”
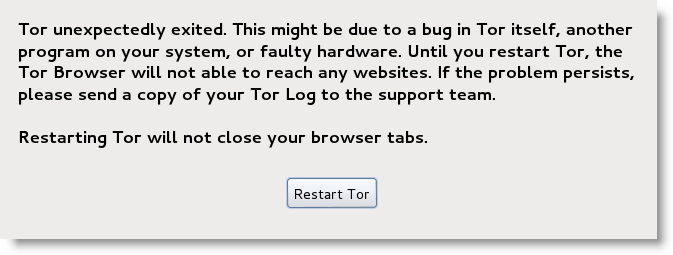

chown -R root /root/Downloads/tor-browser_en-US/Browser/TorBrowser/Data/Tor
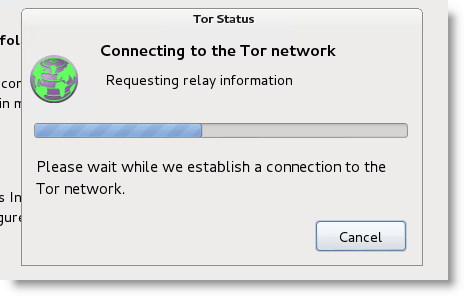
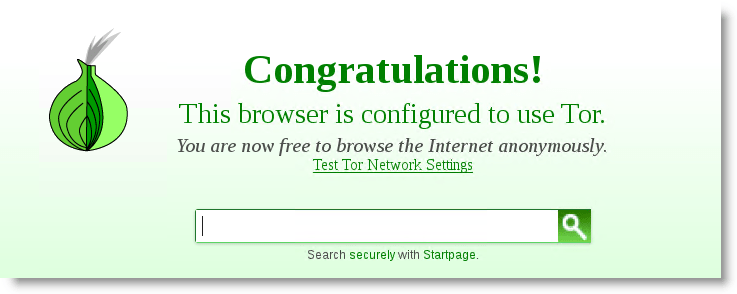
Once done this should now load as expected.
Setup “Wine” to run Windows Applications
“Wine” allows us to install certain Windows Applications and run then natively on Kali Linux. This useful for things like “Notepad++” which is a great tool to be able to use, I also like to install “Soap UI” for testing too. To set it up we first need to make our system a “Multi Architecture” system by running the following command.

dpkg --add-architecture i386
This should take a second to run, then we need to update the system using the standard “apt-get update” command. Once done we can then run the following command to install “Wine“.

apt-get install wine-bin:i386
Once it has completed, we then need to configure it to run in the operating system of our choice. For me I like to use “Windows 7“. Open the main menu, select “System Tools”, then access the “Wine Configuration” item.

Once this has loaded you should have the configuration tool open, where you can change the “Windows Version” from the default of “Windows XP” to whatever you want from the menu.

Now apply those changes and it should close. To test this I am going to download “Notepad++” from here: http://download.tuxfamily.org/notepadplus/6.7/npp.6.7.Installer.exe
Once it is downloaded, in the command prompt use the following command.

wine npp.6.7.Installer.exe
It should then launch the installer like this.


It should then launch as you would expect on Windows.

With his installed, we are then able to install other Windows Applications, albeit not all of them but useful ones that we need. Office 2007 installs fine but others have a few issues.
Once all the above are completed my Kali Linux is now better to use. Other things I also not documented here but will in future post are:
- Virtual box Installation
- “Lazykali” Script Setup
- Enabling Multi-Factor to SSH using Google Authenticator Service
- Install other utilities to make my life easier
When the second part of Kali Config and “other utilities to make my life easier”?
This tutorial was not well writen. Now i have to reinstall kali linux.
I am not sure what issue you faced, but I have installed multiple Kali Instances and used these commands and have never had to re-install Kali at all. Apologies but I would bet that something else caused the issues not the well-known commands listed here.